LogoLogo
BlogHelp CenterPrivacyLoginRegister
  • Let's optimize your images
  • Transformations
    • Input formats
    • Image operations
      • Width and height
      • Prevent enlargement
      • Crop
        • Automatic gravity crop
        • Positionable crop
        • Focal point crop
        • Face crop
        • Face hide
        • Aspect ratio crop
      • Fit
      • Cropfit
      • Bound
      • Boundmin
      • Cover
      • Device pixel ratio
      • Flip
      • Rotate
      • Trim
      • Rounded corners
      • Background removal
    • Image filters
      • Adjustment
        • Brightness
        • Contrast
        • Saturate
      • Color manipulation
        • Color overlay
        • Grayscale
        • Duotone
        • Sepia
        • Invert
      • Blur
      • Pixelate
      • Sharpen
      • Face blur
    • Image watermarking
      • Static watermark
      • Dynamic watermark
      • Text watermark
        • Text watermark fonts
    • Image compression
      • Image formats
      • Optipress
      • SVG compression
      • Color management
    • Static content
      • PDF to image
      • JS/CSS optimization
    • Video operations
  • Setup
    • Shortening URLs
      • Origin URL prefix
      • Aliases
      • Presets
      • Rules
    • Connecting storage bucket
      • Amazon S3
      • Google Cloud Storage
      • Microsoft Azure Blob
      • Basic authentication HTTP
    • Security
      • Token security
        • Domain whitelisting
        • URL signature
        • URL sealing
      • Account security
      • Origin security
  • Implementation
    • URL API implementation
    • Responsive images JS plugin
    • CMS plugins
      • Spryker
      • Drupal
      • Kontent.ai
      • Contentful
      • Adobe Commerce (Magento)
        • Basic implementation
        • Advanced implementation
      • Opencart
      • Prestashop
        • Prestashop tutorial
      • Shopware
      • Sylius
      • Wordpress
      • Shopify tutorial
        • Shopify integration
        • Theme files
        • FAQ
      • Commercetools tutorial
      • Ruby wrapper
    • Migrating from another image CDN
  • Caching and acceleration
    • CDN basics
    • Caching interval
    • Invalidation API
    • Warmup API
  • Analytics
    • Dashboards
      • Overview
      • Volumetry
      • Optimization
      • Delivery
      • Top-Ranking
      • RUM
      • Logs API
  • Cloudimage_v6 EOL
Powered by GitBook
LogoLogo

Resources

  • Help center
  • Contact support
  • Developers
  • cloudimage.io

Solutions

  • Media optimization
  • DAM
  • Performance report

Company

  • Blog
  • Service status
  • About us

Legal stuff

  • Terms & conditions
  • Privacy center
  • DMCA

Copyright © 2023 Scaleflex

On this page
  • Installation
  • Prerequisites
  • Step 1. Download the plugin
  • Step 2. Install the plugin in Opencart
  • Step 3. Activate the module
  • Configure

Was this helpful?

Export as PDF
  1. Implementation
  2. CMS plugins

Opencart

Cloudimage Opencart plugin

PreviousAdvanced implementationNextPrestashop

Last updated 7 months ago

Was this helpful?

The Cloudimage Opencart Plugin will automatically adapt the image URLs in your Opencart site to deliver your images rocket fast over the Cloudimage multi-CDN infrastructure. You only need to register with Cloudimage and install the plugin in your Opencart Admin.

Installation

Prerequisites

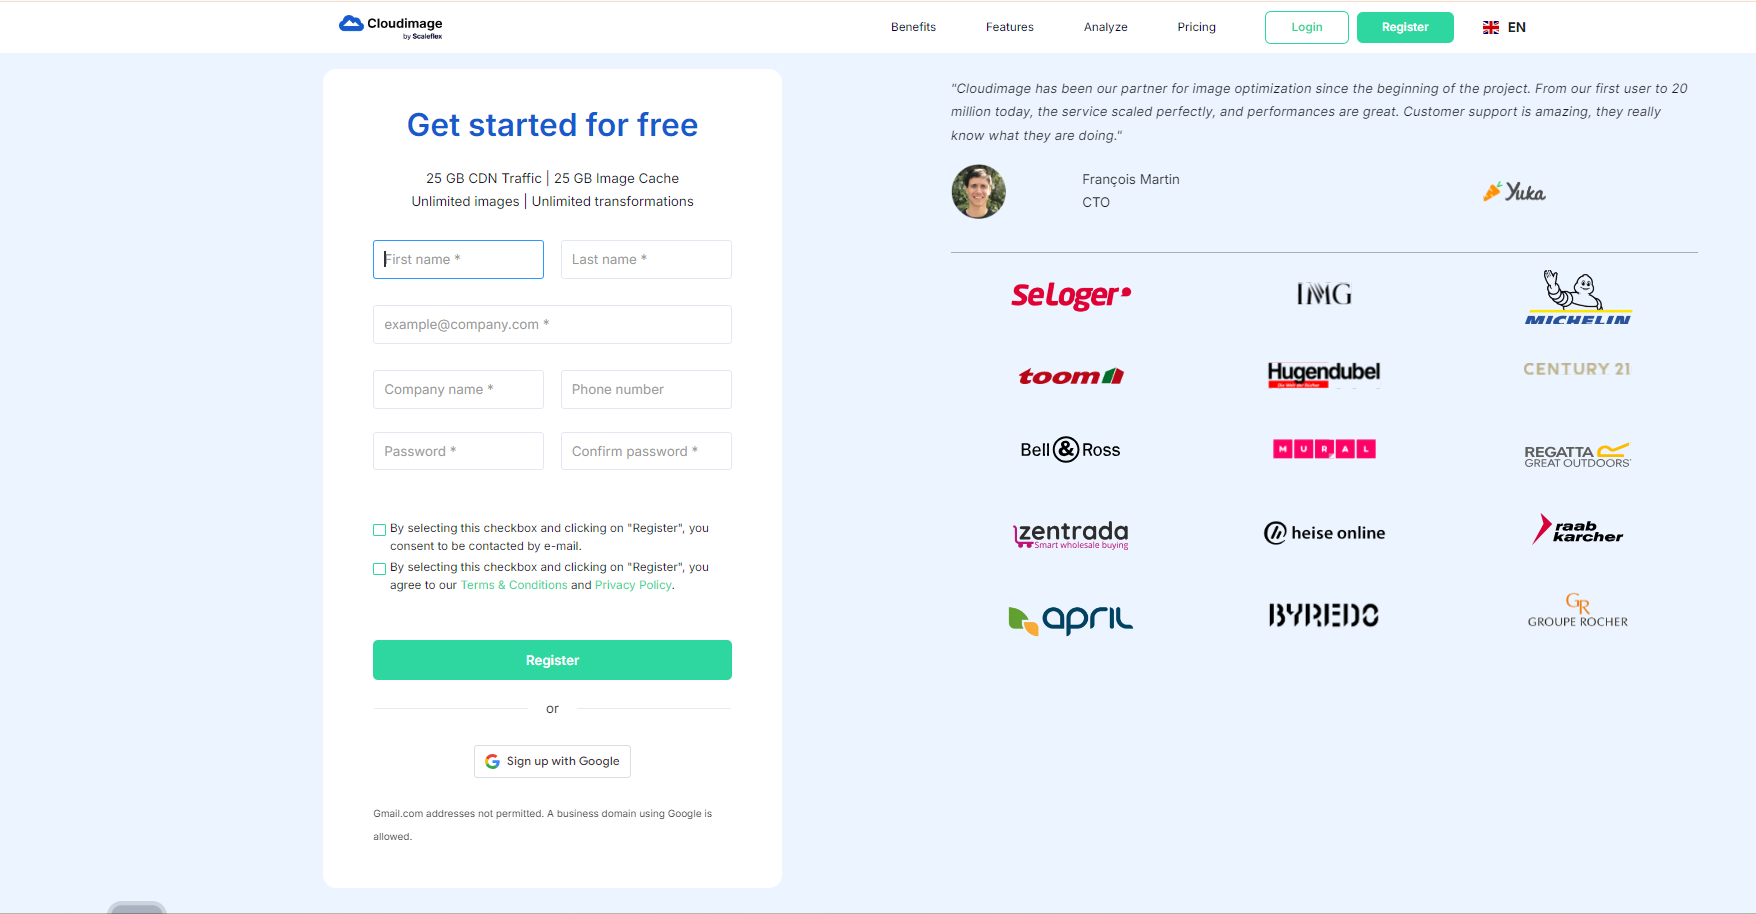
To use the plugin, you need to have a Cloudimage account. You can create one on the .

Step 1. Download the plugin

Then, search for "Cloudimage" in the search bar.
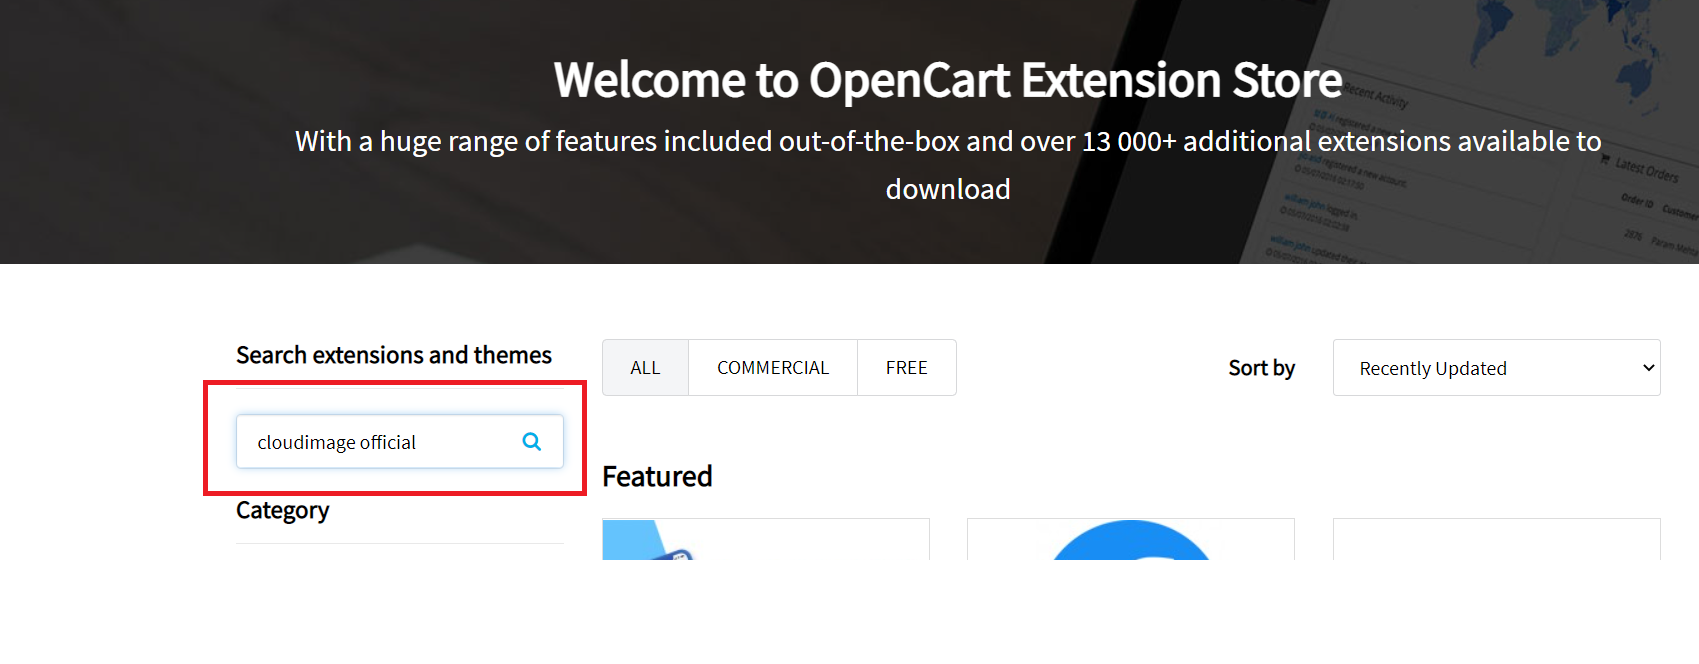
Select the Cloudimage by Scaleflex plugin and click on Download. The Download button will be available on the right side. This will download the .zip file.

Step 2. Install the plugin in Opencart

First, you need to log in to your Opencart Admin:
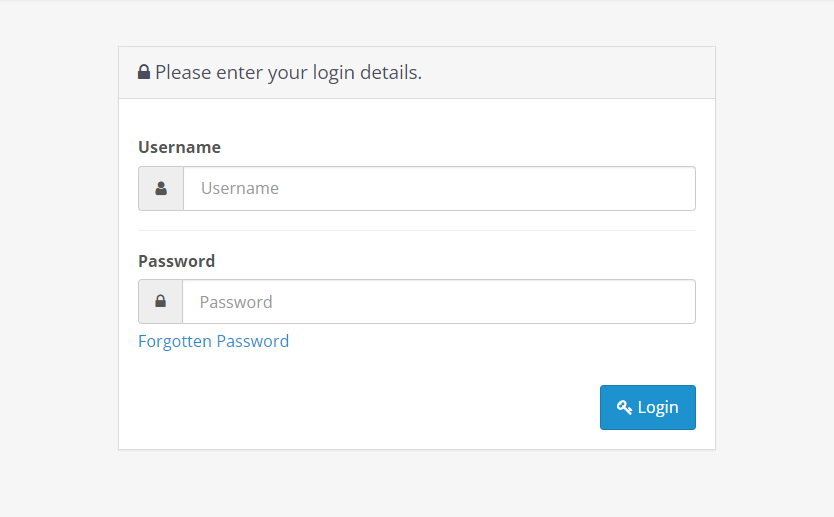
Then, navigate to Extension->Installer.
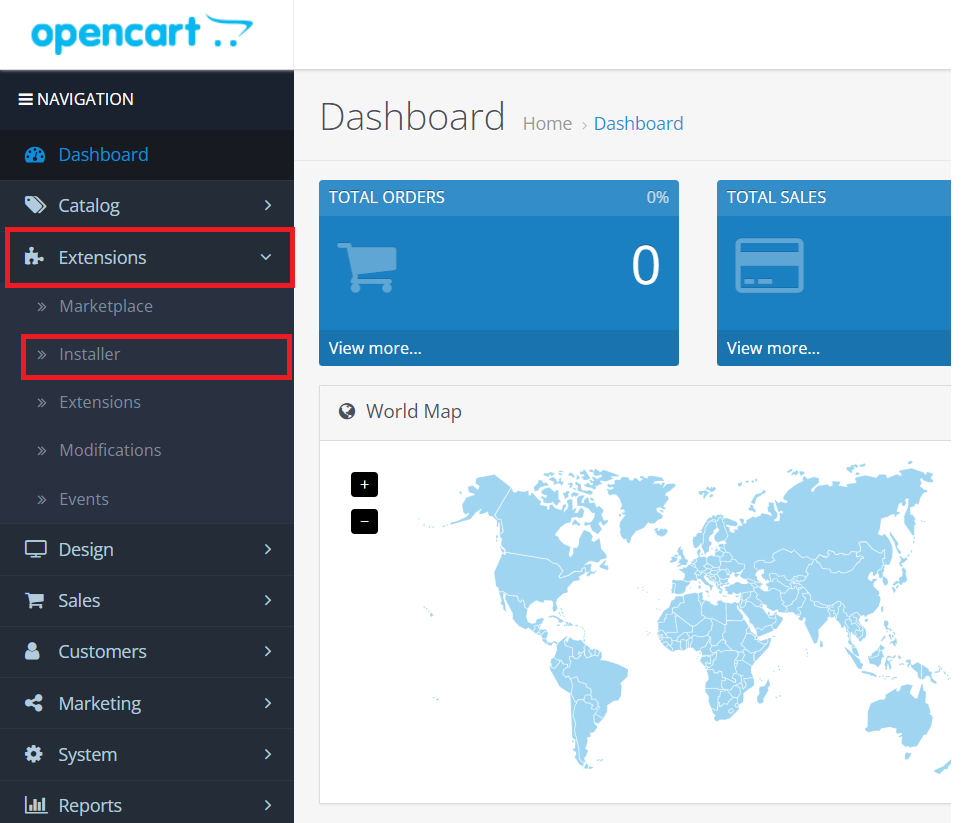
Click on "Upload" and upload the .zip file that you downloaded in the previous step:
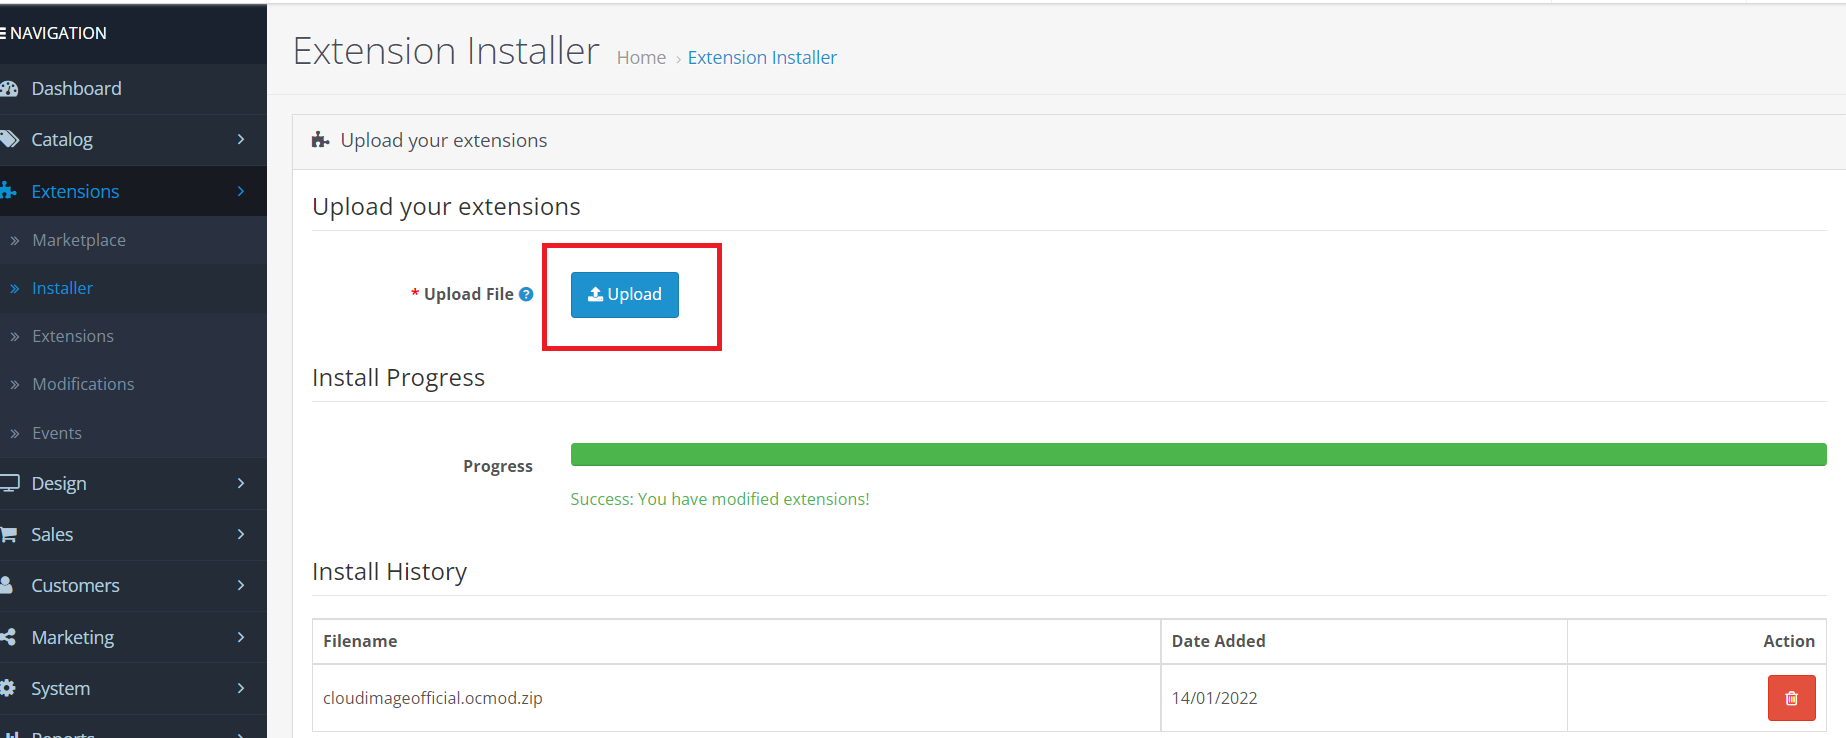
Step 3. Activate the module

Navigate to Extensions->Modifications and select refresh in the Modification panel. Refresh button will be available on the top right corner as shown below:
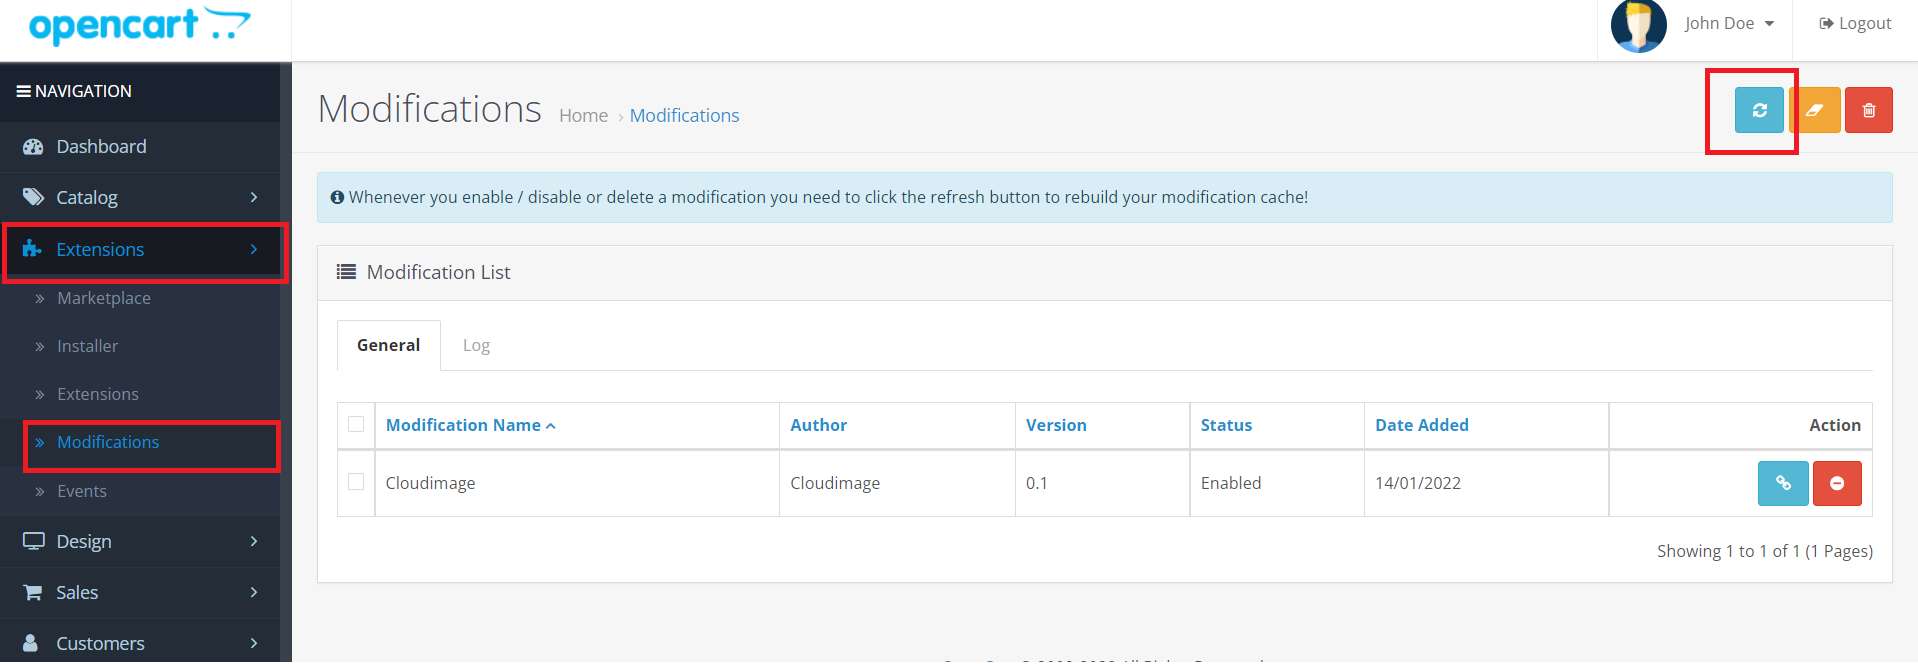
Navigate to Extensions->Extensions->Modules.
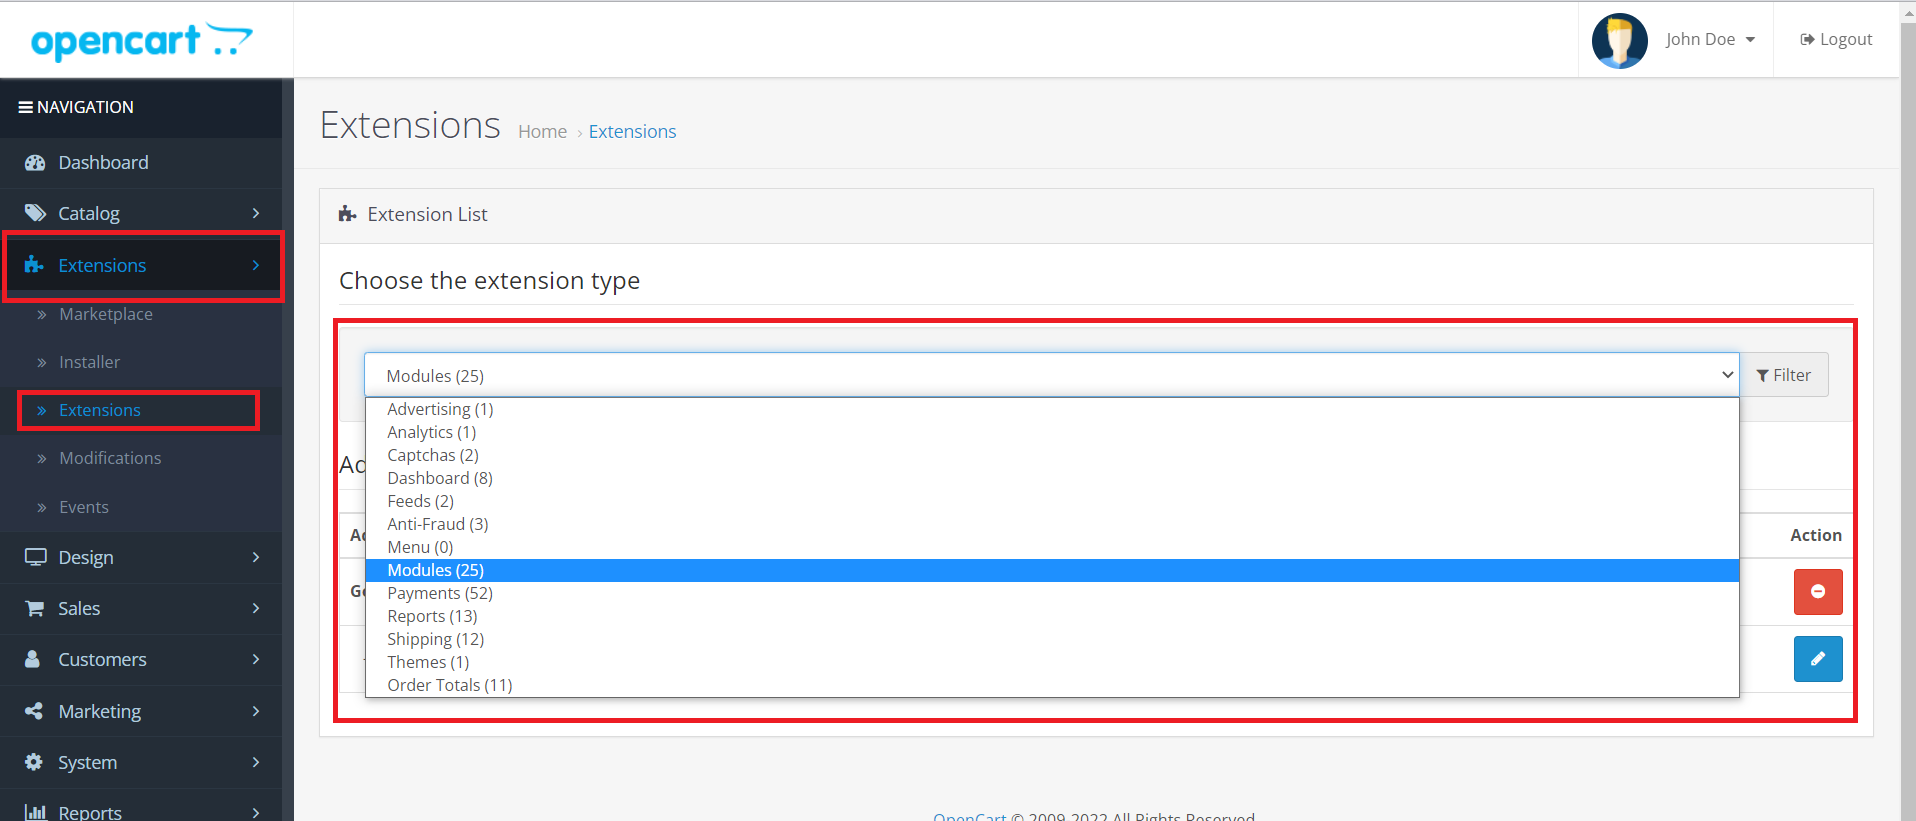
Select Cloudimage from the list of modules and click on Edit.

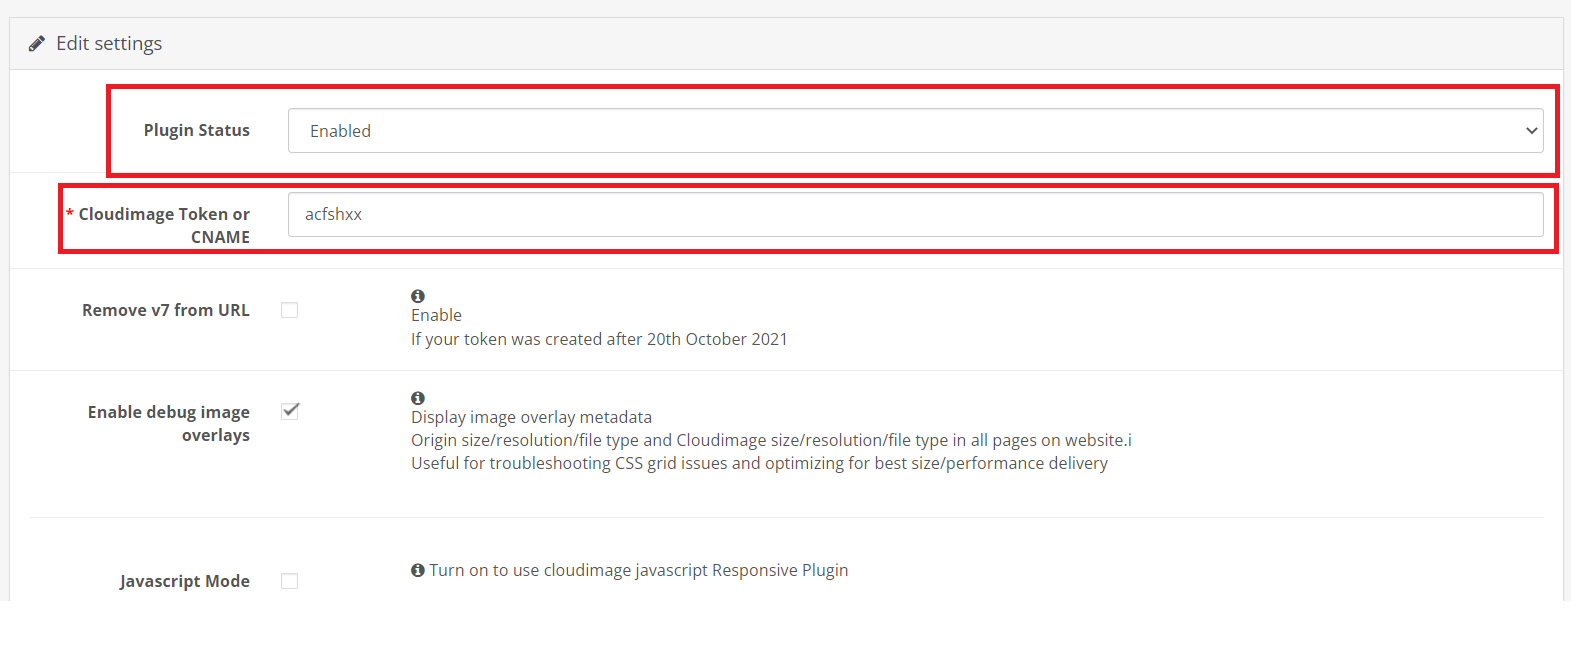
Enable the plugin and enter Cloudimage Token or CNAME

After you enter your token and save the changes, the plugin will start to deliver your images via Cloudimage.

Configure

Options
Descriptions

Remove v7 from URL

If your token/CNAME was created after 20th October 2021 you need to tick this option.This option will remove the "v7" part from image URLs.

Enable debug image overlays

For troubleshooting purposes to view details about resizing and compression. Note:This will print information over your images.

Cloudimage image output quality

To increase or decrease the quality of images delivered by cloudimage.Slide to the right to increase quality.

Javascript Mode

When Javascript Mode is active, make sure that no other module is overwriting the plugin's delivery with "ci-src" image source.

To get the plugin, you need to open .

You need to enter your Cloudimage account token which you have received upon account creation (step 1).If you need a CNAME please contact our .

To turn on responsive images,this option makes use of . All img tags "src" is changed to "ci-src" .

Opencart Extension Marketplace
sales team
Cloudimage javascrpt libarary
Cloudimage registration page