Wordpress
All-in-One Digital Asset Management and Cloudimage Media Optimization Plugin for WordPress
Overview
Scaleflex VXP is a powerful WordPress plugin designed to help businesses efficiently manage and optimize their digital assets. Integrating two key features - Scaleflex Digital Asset Management (DAM) and Cloudimage Digital Media Optimization (DMO) - Scaleflex VXP enables you to store, organize, deliver, and optimize images, videos, and other digital resources directly within WordPress.
DAM (Digital Asset Management): Seamlessly organize, search, and control all your digital assets, ensuring brand consistency and boosting team collaboration.
Cloudimage (Digital Media Optimization): Automatically optimize images and videos for size and loading speed, enhancing user experience and improving website performance.
With the Scaleflex VXP plugin for WordPress, you don’t just store, you take full control of your assets. Experience a streamlined, modern, and scalable digital content management workflow today!
Install the plugin from your WordPress admin or from the WP Marketplace.
Prerequisites
Create an account if you have not registered already. You can create an account on the Cloudimage registration page.
Installation
Log in to your WordPress admin panel.
On the Admin sidebar, navigate to Plugins > Add New.
Enter "Scaleflex VXP" in the search field and then install the plugin.
Once installed, click Activate.
Navigate to the settings page.
Select "Cloudimage - Digital Media Optimization (DMO)".
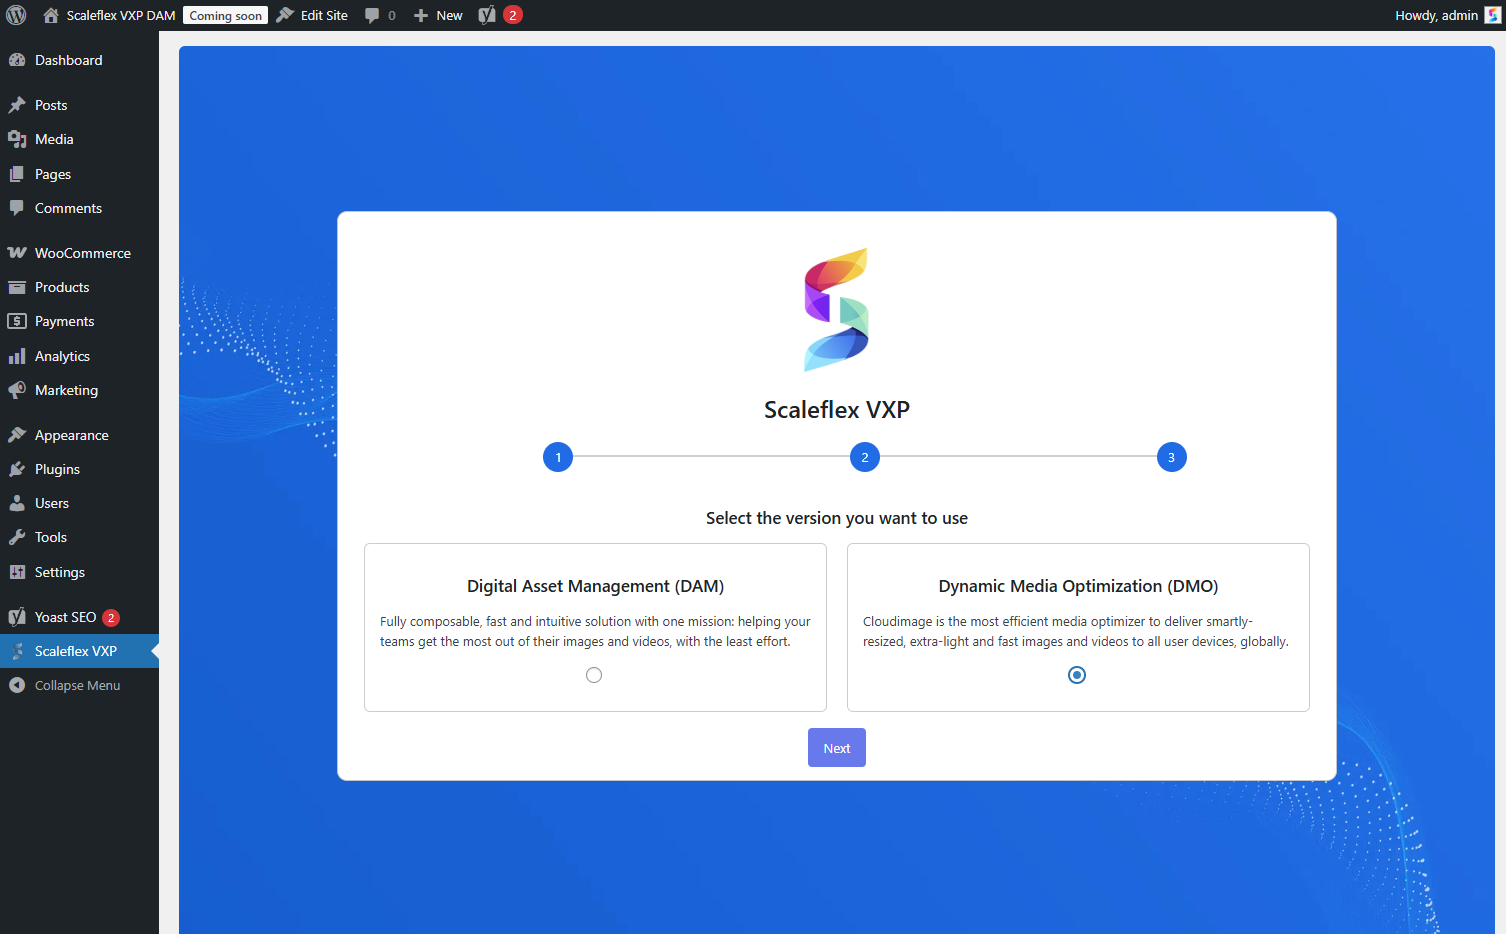
Fill in the plugin settings page with the required authentication details
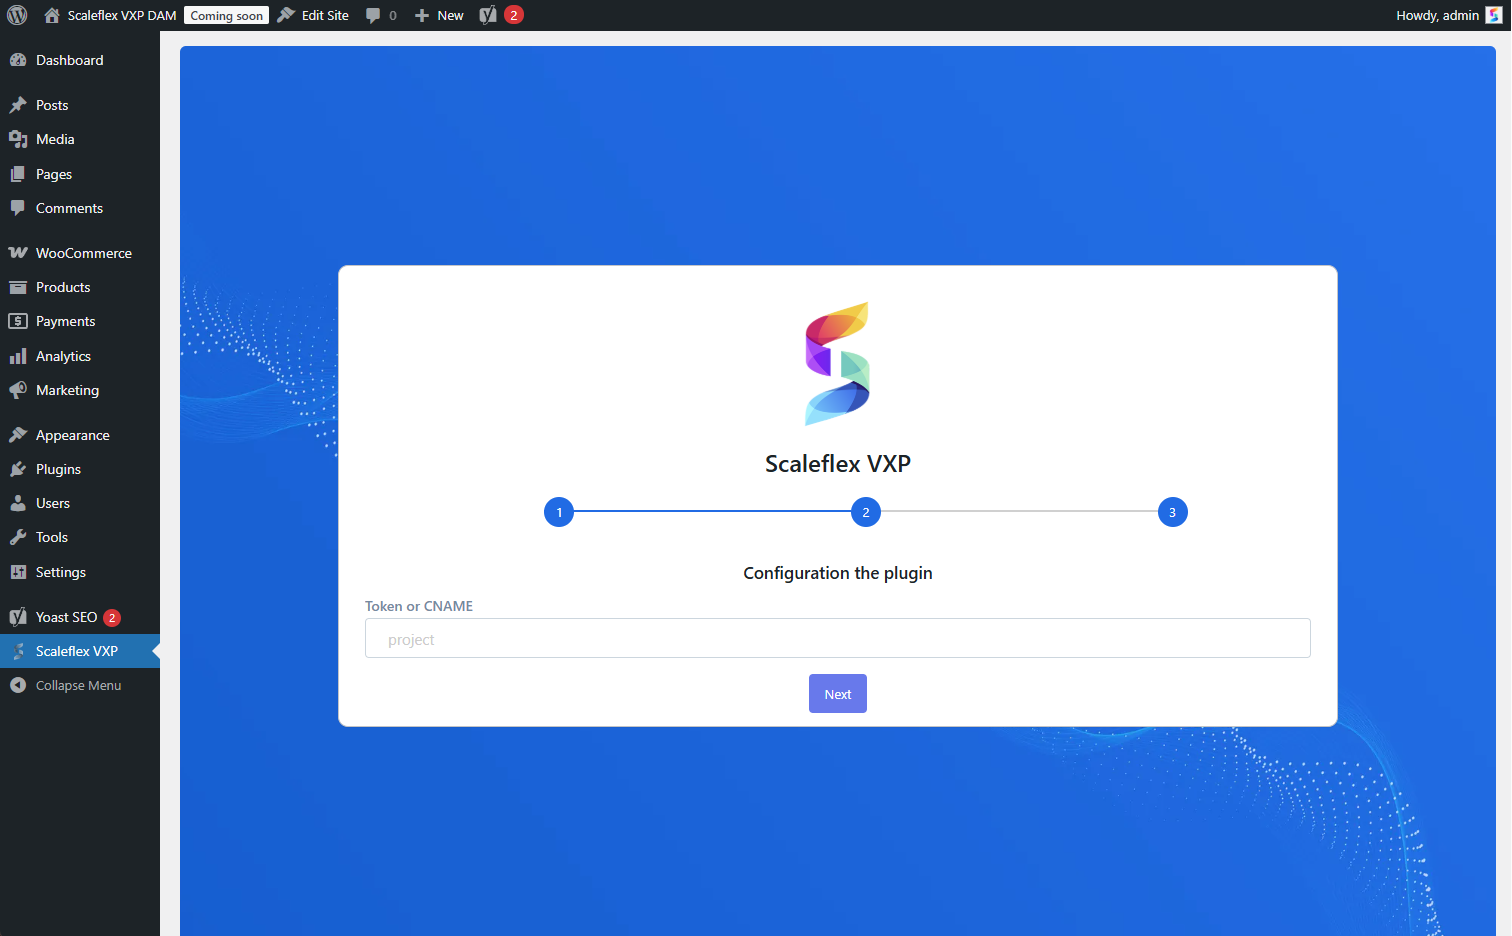
Configure the plugin
You need to enter your Cloudimage account token, which you have received upon account creation.
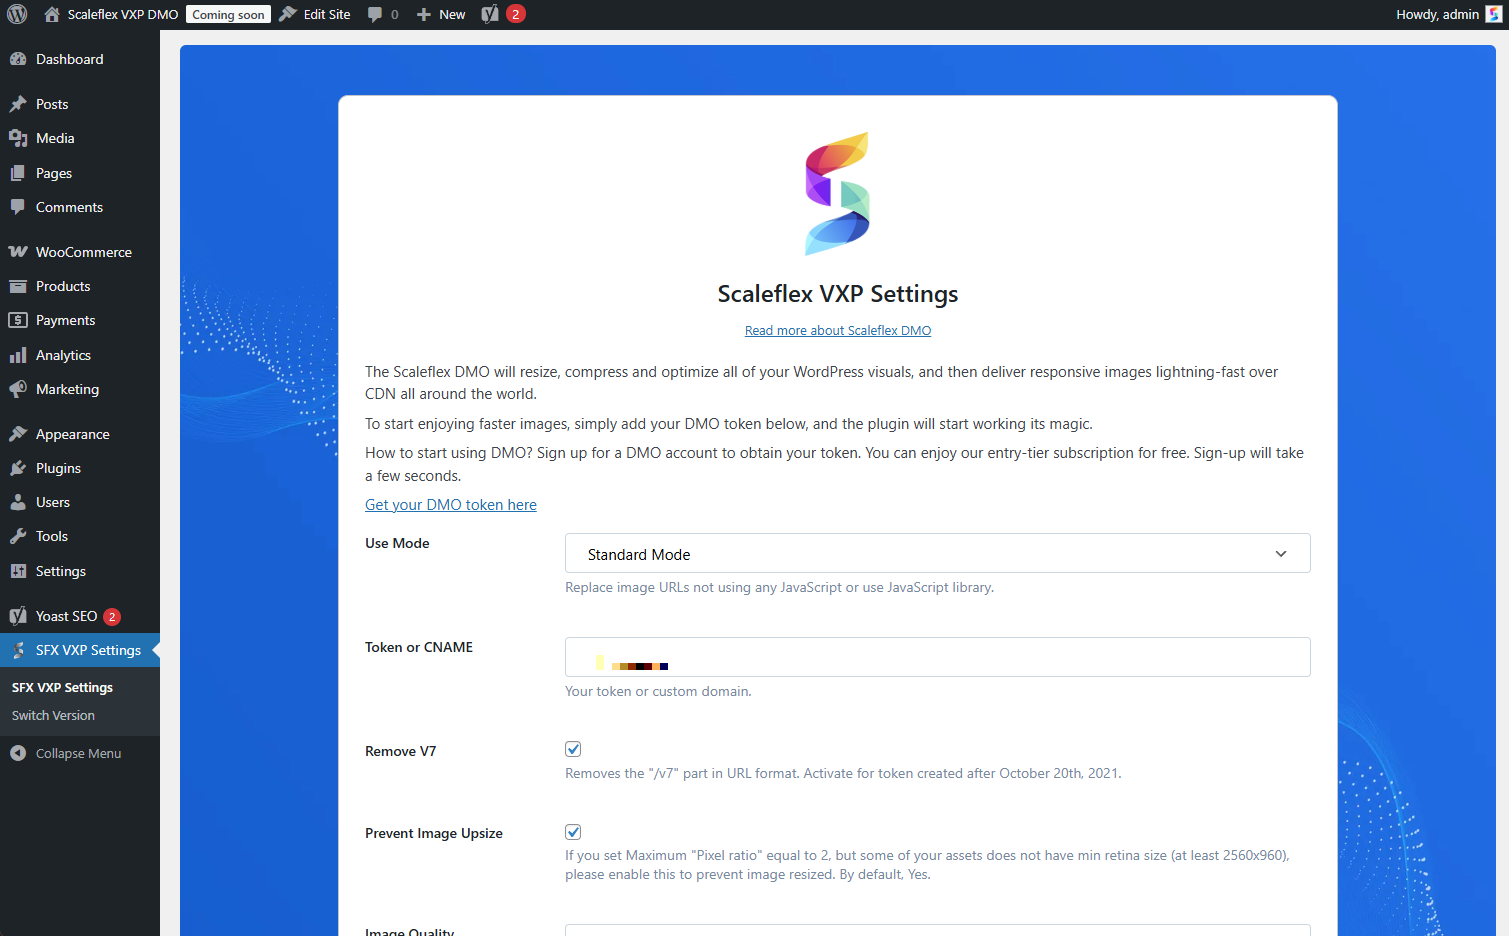
With Cloudimage, we will have two modes when using:
JavaScript Mode: Replace image URLs with JavaScript
Standard Mode: Replace image URLs not using any JavaScript
Configuration options
Remove V7
Some tokens are associated with a v7 URL, while others are not.
But not to worry, this plugin automatically checks and sets it for you, all within a few seconds.
Eg: If you enter a v7 token into the text input field, then a few seconds later, the v7 dial will automatically turn itself on.
Please be patient and wait for the “The v7 checking process …” message to disappear before pressing the “SAVE ALL CHANGES“ button.
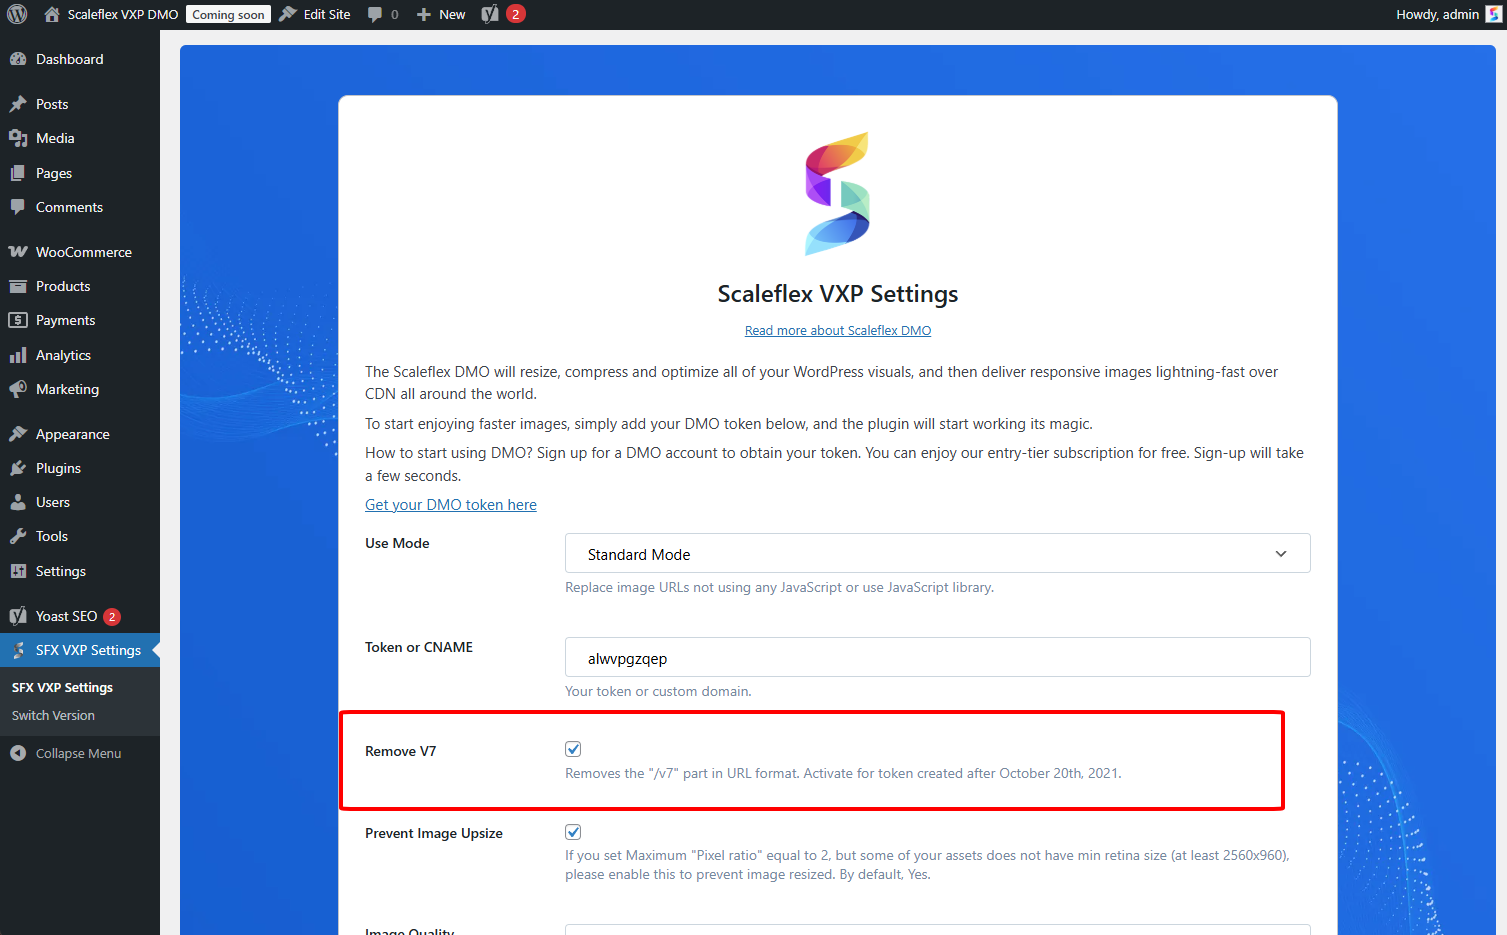
Prevent Image Upsize: If you set Maximum "Pixel ratio" equal to 2, but some of your assets do not have min retina size (at least 2560x960), please enable this to prevent image resized. By default, yes.
Image Quality: The smaller the value, the more your image will be compressed. Careful - the quality of the image will decrease as well. By default, 90.
Ignore SVG Image: Ignore converting the SVG file to a CDN URL.
Skip classes: HTML tags with the specified classes would be skipped. Separated by a comma (,)
Skip files: Files with these extensions would be skipped. Separated by a comma (,)
Use Mode
Without Cloudimage
Your image URL will be like this:
With Cloudimage
Notice that the URLs have been appended https://token.cloudimg.io/ to ensure CDN delivery and optimization of images.
With Cloudimage and Use Mode as "JavaScript Mode"
Cloudimage will:
The
ci-src(https://github.com/scaleflex/js-cloudimage-responsive#step-3-implement-in-an-img-tag-or-use-it-as-a-background-image) attribute will be added to theimgelement, which willgenerate
data-srcsetset resize
With Cloudimage and Use Mode is "Standard Mode"
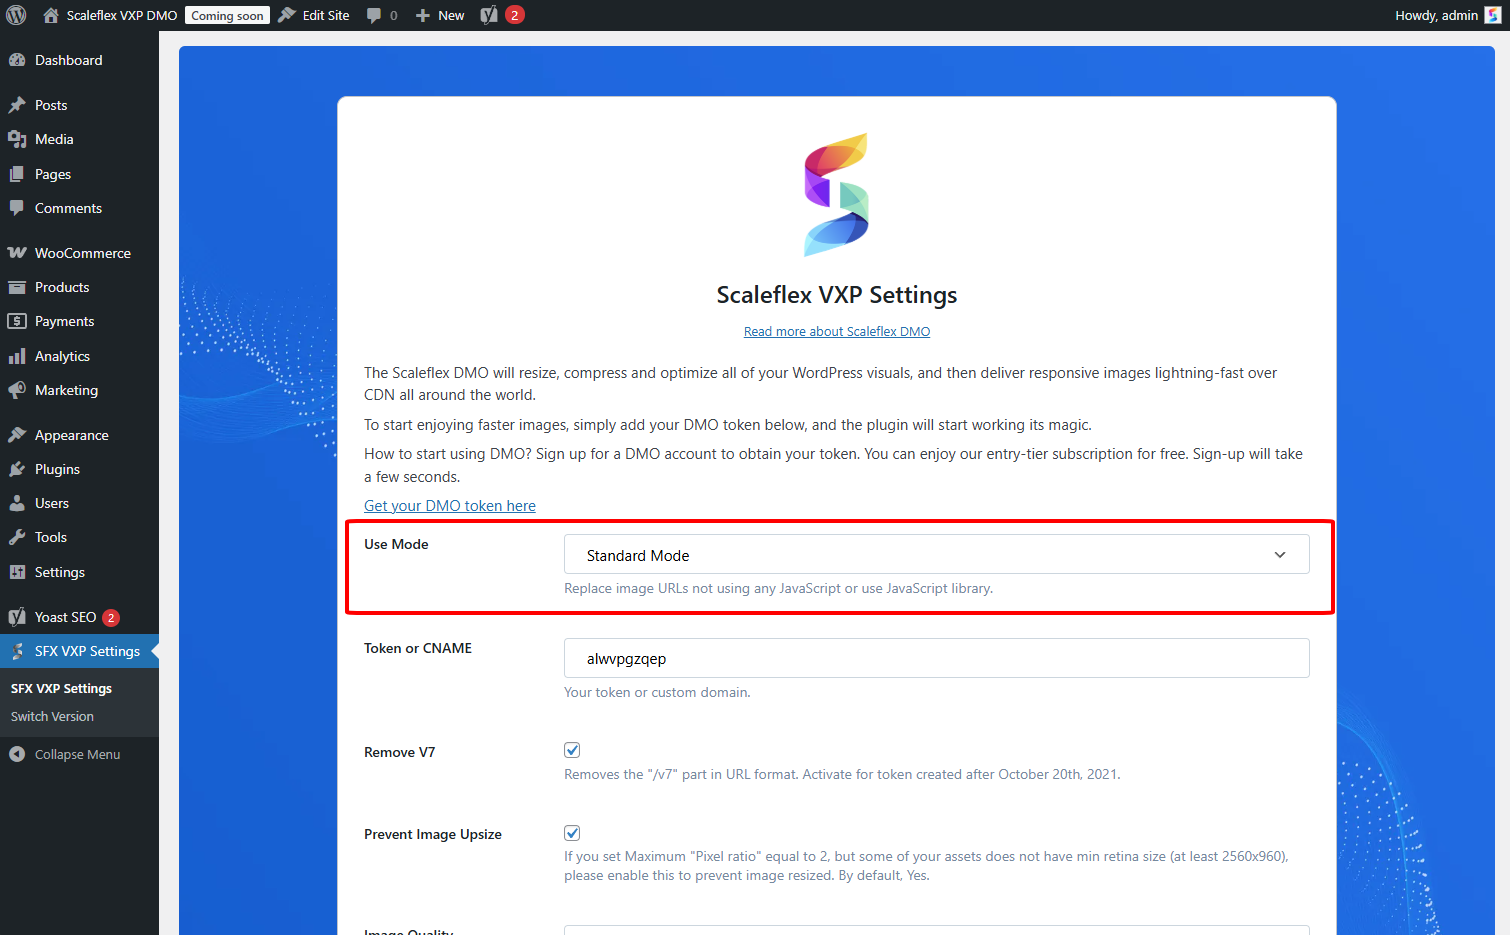
Cloudimage will change the attribute "src" in the img tag without JavaScript
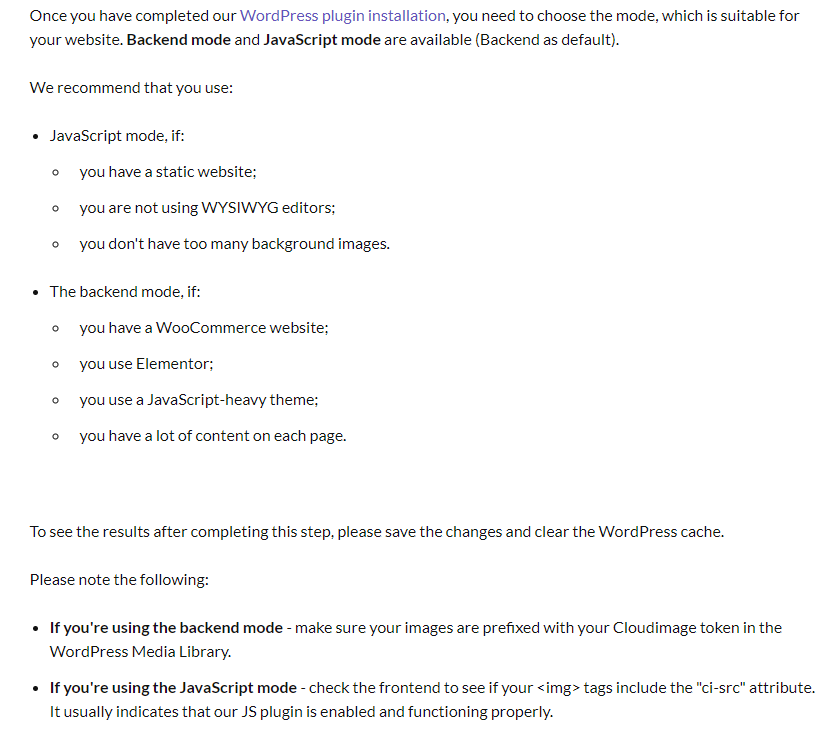
When to use JavaScript Mode and when it’s better not to use
Localhost
Please note that Scaleflex VXP - Cloudimage will not take effect on localhost
Advanced Configuration
Standard Mode
URL Signature: To prevent URL tampering and protect your token, every Cloudimage URL can be secured with an SHA-1 HMAC signature. Read more here.
Enable srcset adding: Adding srcset for the img tag. By default, this mode will remove the srcset
Srcset widths (px): The widths in pixels that would be generated for the srcset tag if the srcset adding option is enabled. Separated by a comma (,)
JavaScript mode
Local JavaScript libraries:
ON: Use Cloudimage JS files from CDN
OFF: Use Cloudimage JS files from the plugin locally
Use Origin URL: If enabled, the plugin will only add query parameters to the image source URL, avoiding double CDN in some cases, like if you have aliases configured.
Lazy Loading: If enabled, only images close to the current viewpoint will be loaded.
Maximum "Pixel Ratio": List of supported device pixel ratios, eg 2 for Retina devices.
Image Size Attributes: Used to calculate the width and height of images.
Custom JavaScript function: A valid JavaScript function starting with { and finishing with }.
Custom library options: Automatically adds Cloudimage parameters for all images, e.g. watermark=1 to put a watermark on all images. The list of all available parameters can be found on docs.cloudimage.io
Last updated